Tips For Rookies Who Get Cast-Iron Cookware For Christmas
As the Holidays approach, one common age-old problem is what to gift that certain person on your gift list. One item, that should grace every Michigander’s kitchen, is cast-iron cookware. It has been used for cooking for well over a thousand years, with the first mention of a cast-iron kettle, in English, at around A.D. 679. It was cast-iron cookware that landed on the shores of Plymouth, along with the Pilgrims, and Abraham Darby I secured a patent for his Dutch oven in 1708.
Not only is the clunky cookware a trusty partner in the kitchen, but this versatile cookware is a longtime favorite for over the campfire. It was cast iron that rattled in the bed of a covered wagon when the pioneers headed west for a new start.
Skillets and Dutch ovens are usually the first cast-iron cookware items that may come to your mind, but griddles for the stovetop and bread loaf pans are also favorites. My loaf pans have produced scads of loaves of bread that just slide from the pan. Plus, the loaf pans are great for baking meatloaf. However, proper care for cast iron is necessary to retain that non-stick quality for your cookware. Often, when bragging about my cast iron, I get the reply,
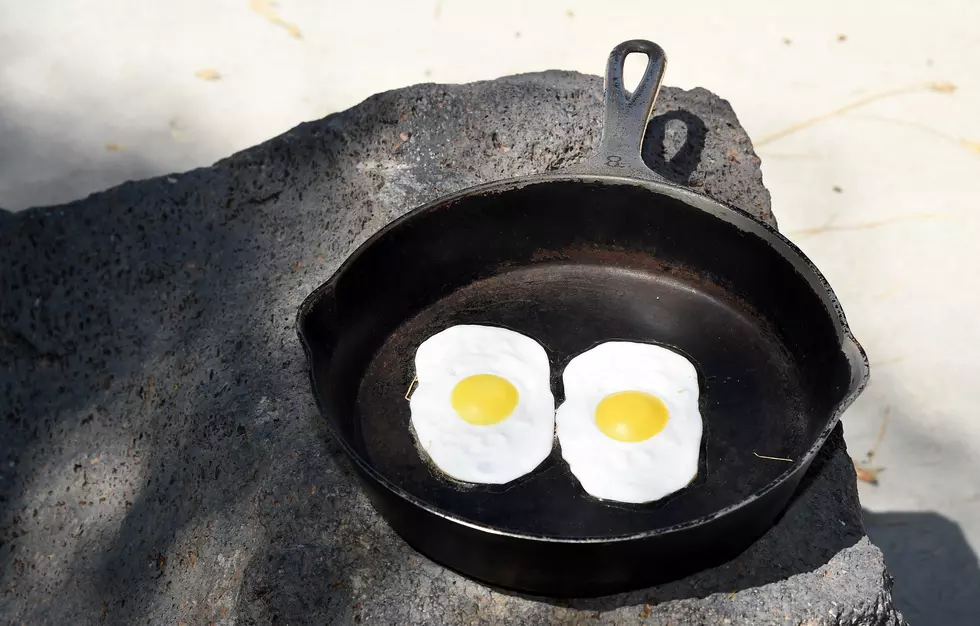
My eggs always stick to the pan, and it’s a hassle to clean.

If you follow these tips, your cast iron will prove to be a delight for cooking and easy to keep clean:
Cast-Iron Cookware Tips for Rookies
- The first thing to do is to season your newly acquired pan or to restore an old pan. Most new pans come “pre-seasoned”, but you will probably want to give it one more shot in the oven. This will be the ONLY time that you will want to submerge your pan into soapy water. Wash the pan, rub it dry and perhaps heat on the stove to totally dry. Once the pan is dry, rub the entire surface with cooking oil. Lard, vegetable, canola, and corn oil will all work. Just be sure to oil and rub the entire pan. Buff the pan until the pan doesn’t look greasy. All of the pores in the pan have absorbed oil, but you don’t want pools of oil dripping in your oven as you “cure” the pan. Put the oiled pan in a preheated oven at 450 degrees F, for 30 minutes. After 30 minutes, remove the pan and repeat the process for 3-4 times. REMEMBER! THE PAN IS SCORCHING HOT when removed from the oven. Let it cool a bit before tackling it again.
- Use plenty of fat when cooking, and always heat the pan before adding oil. Any excess oil can be easily drained following cooking, and it makes it easier for rubbing the pan down for clean-up, which takes us to the next most important tip.
- Never use soap or detergent when cleaning your cast iron. The soap will remove any “seasoning” that has built up on the surface. If the pan has food stuck to the surface, just add warm water to the pan, let it soak for a minute or two and use a plastic/silicone scrapper to remove the gook. After removing the gook, I add just a tad of warm water and a couple of tablespoons of table salt to the pan. A course bristle brush can be used to scrub the pan's surface, then rinse and wipe. Then, just heat the pan to dry and sanitize. The heat of the pan will kill any possible cooties. Now, just rub the inner surface with a little oil.
- Certain foods will react to cast iron. Acidic foods like tomatoes can damage the seasoning. A slow simmered pasta sauce will be a disaster! Tomato sauce and wine-braised meats will taste metallic.
Other than that, your cast iron will be perfect for frying pancakes, home fries, or deep-frying chicken or donuts. You now have cookware that can be handed down for generations.
6 Cozy Cabins/Cottages to Stay At This Winter in Michigan [GALLERY]
More From WGBFAM


